|
Celebrating 33 years providing high quality products and advice.
|
| Our Local Time Is 3:31:04 PM. |
| Call us at 818-786-0600. We are here to help! |
 |
ON SALE NOW
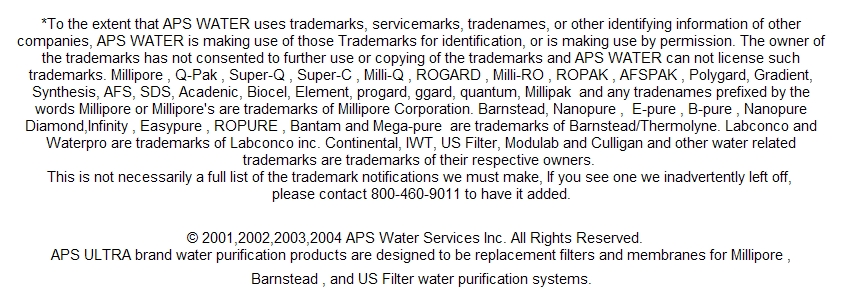
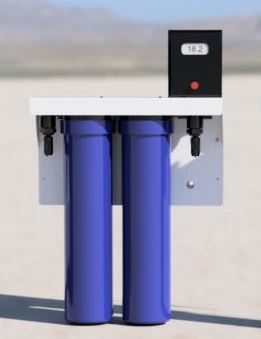
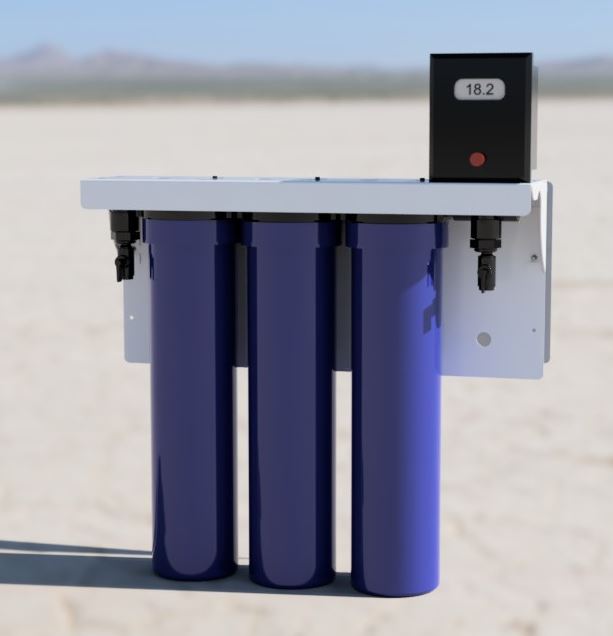
Introducing the Polaris Lab Water Systems
High Purity Water Made In The USA.
Click here for more info. |
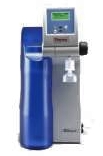
How to change filters in Barnstead E Pure Nanopure and Nanopure II Water System
2DPure_Water_Systems">E-Pure: Brand name of the water filtration system.
4.2 Filter/Cartridges: Interchangeable term for purification materials.
4.3 Canister: plastic housing for filter cartridge
4.4 Draw-off Valve: a valve found directly above filter 6
4.5 Locking pins:a securing device for canisters 2-5
5. MATERIALS & EQUIPMENT:
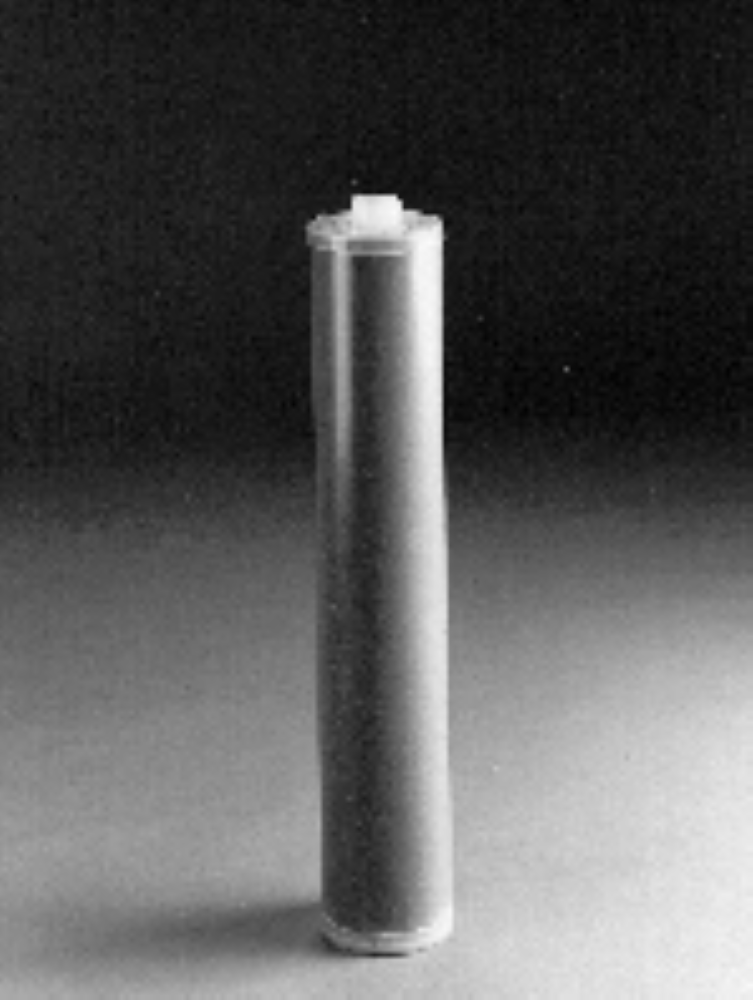
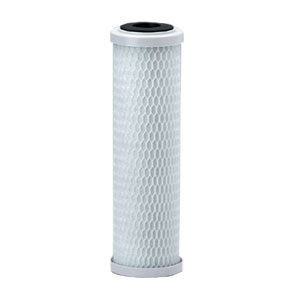
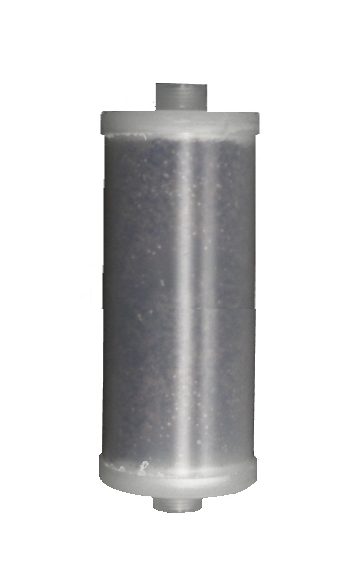
5.1.Replacement filters:
For systems being fed water contains high particulates
5.1.2 Replacment FiltersE-Pure replacement filters
5.1.2.a. Filter #1: D01801-MACROpure
5.1.2.b. Filter #2: SB1801-High Capacity
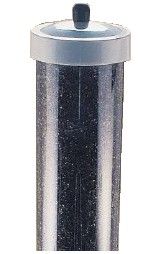
5.1.2.c. Filter #3: MB1801--ULTRApure DI SG
5.1.2.d. Filter #4: OS1801--ORGANICfree
5.1.3 Filter #5: FF0501- 0.2 micron final filter
You can also order kit B-MSMO2 which includes all the the above.
For systems being fed with clean Distilled or Reverse Osmosis water
5.1.2 E-PureReplacement filters
5.1.2.a. Filter #1: CF1801Carbon Filter
5.1.2.b. Filter #2: MB1801Mixed Bed Deionizer
5.1.2.c. Filter #3: MB1801Mixed Bed Deionizer
5.1.2.d. Filter #4: OS1801Organic Scavenger
5.1.3 Filter #5: FF0501 0.2 micron final filter
These can be order as a kit # B-CDDO2
5.2 Filter wrench
5.3 Water catch basin
6. PRECAUTIONS:
6.1 Ensure that locking pin is in fully locked position before pressurizing.
E-Pure or canister may release when system is pressurized.
6.2 Pretreatment cartridge (D0835 or D0836) must be rinsed in system by itself to avoid plugging of other purification cartridges.
6.3 Remove 0.2-micron hollow fiber filter from remote dispenser during installation and rinsing to avoid fouling or plugging a filter.
6.4Always shut off the water to the E-pure and depressurize the system prior to removing canisters or filters.
6.5To avoid the possibility of contaminating the outer surface of the cartridge during installation, use the following procedure when installing new cartridges.
6.5.1 Remove the new cartridge from its shipping box. Do not remove the plastic bag around the cartridge.
6.5.2 Stand the cartridge up on a bench, nipple end up.
6.5.3 Open the top end (nipple end) of the plastic bag. Pull down the bag to expose the top third of the cartridge.
6.5.4 Taking care not to touch the exposed surface of the cartridge, install the cartridge (with the bag still around the lower portion) onto the head of the E-Pure.
6.5.5 When the head is securely holding the cartridge, pull the plastic bag off the cartridge.
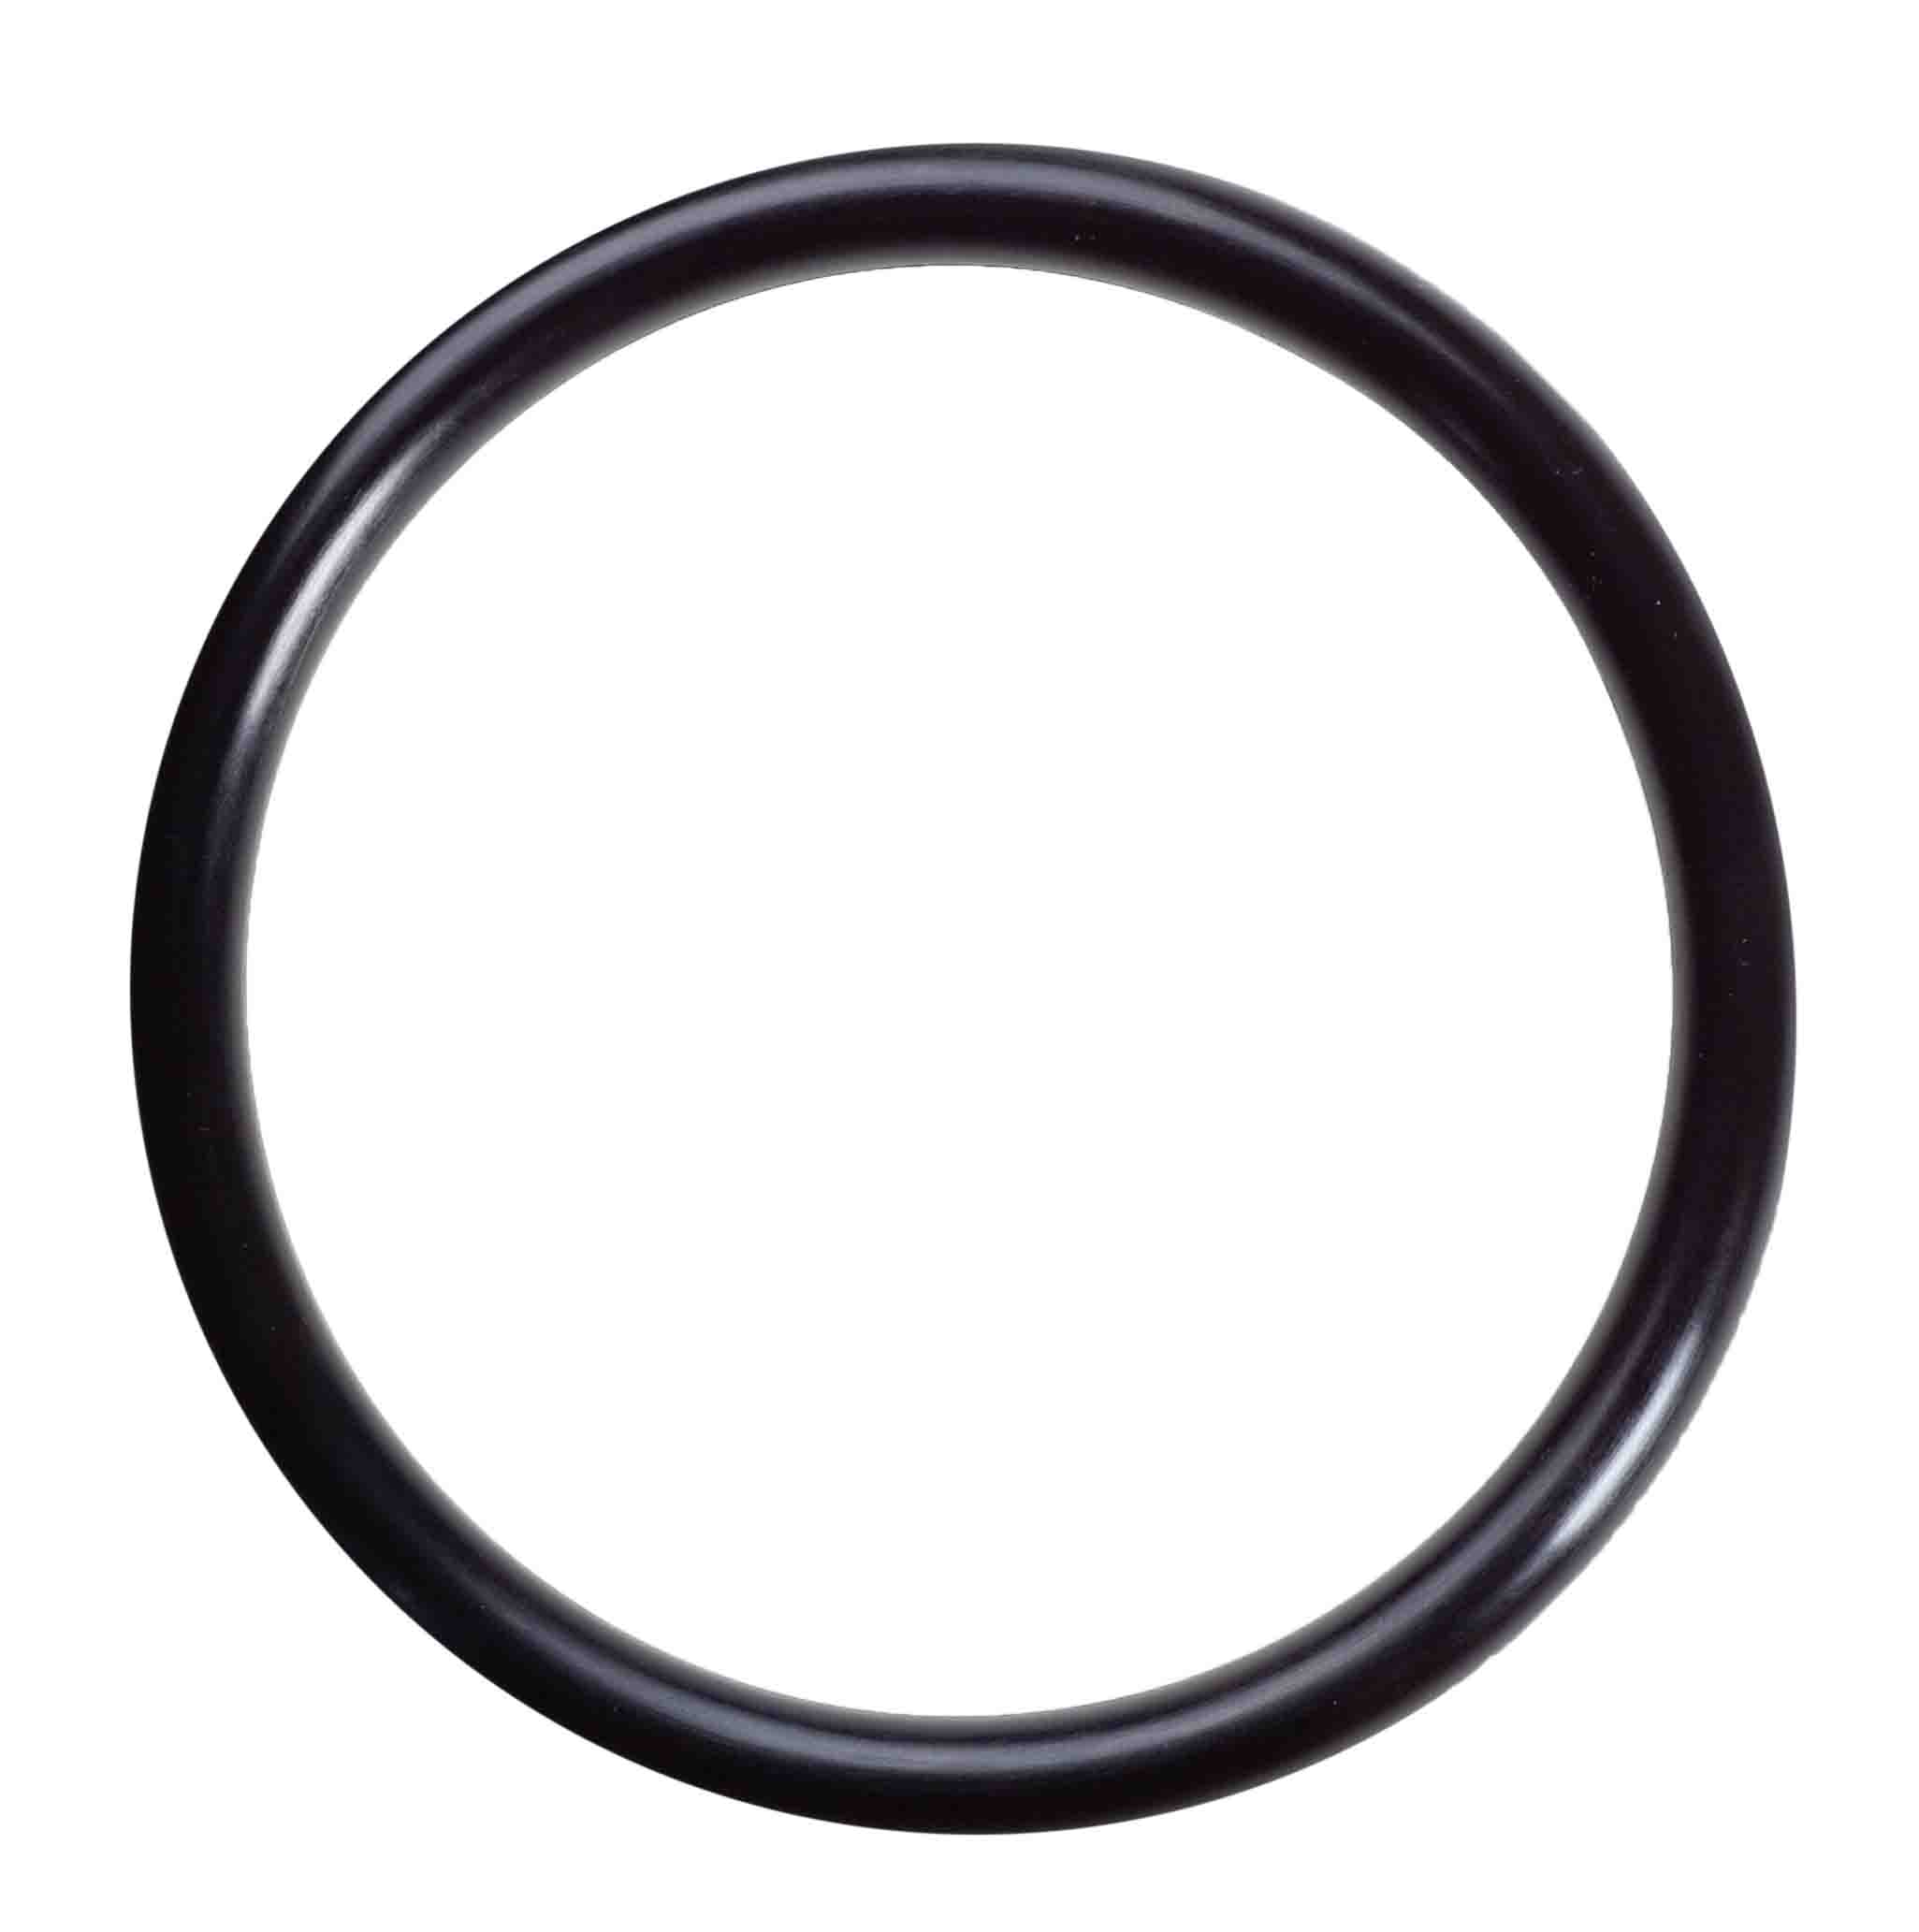
6.5.6 Install O-Ring on top of canister.
6.5.7 Install the canister over the cartridge and secure with locking pin.
6.6 D3750, 0.2 micron final filter should be changed every 30 days to maximize system performance.
6.710 liters of water should be rinsed through a new filter prior to use.
7. PROCEDURE
7.1 Turn E-pure system off and unplug from power source.
7.2 Turn off water supply to E-pure system
7.2.1Close the 2 valves in cupboard under E-pure system
7.2.1.1Valve #1 is on top of filter #1
7.2.1.2Valve #2 is a red valve to the right of valve #1 and controls the main water supply.
7.3Depressurize the E-pure system.
7.3.1Refer to Diagram # 1 and precaution 6.3
7.3.2Close drawoff valve by turning to a horizontal position.
7.3.3Remove and discard filter/cartridge #6.
7.3.4 Reverse drawoff tubing draining into the sink.
7.3.5 Open drawoff valve (vertical position) and let the system depressurize until no more liquid is draining.
7.4Remove and replace filter/cartridge #1
7.4.1 Place water catch basin under filter
7.4.2 Use filter wrench to grip canister and turn _ turn to the left and remove.
7.4.3 Discard filter/cartridge.
7.4.4 Wash canister with soap and water and rinse until no soap residue is visible.
7.4.5 Install new 50mm prefilter.
7.4.6 Reinstall canister with new filter/cartridge in position #1
7.5 Remove and replace filter/cartridge #2
7.5.1 See Diagram #1 for location.
7.5.2 Place water catch basin under filter.
7.5.3 Disengage locking pin on canister ring and turn _ turn to the left to remove canister.
7.5.4 Using filter wrench if needed, turn filter/cartridge _ turn to left and remove.
7.5.5 Discard filter/cartridge.
7.5.6 Wash canister #2 with soap and water and rinse until no soap residue is visible.
7.5.7 Install filter #2. See PRECAUTION #6.5.
7.6 Remove filter/cartridges#3 - #5
7.6.1 See Diagram #1 for location of filters
7.6.2 Place water catch basin under filter being removed.
7.6.3 Remove canisters and discard filters/cartridges.
7.6.4 Wash canisters with soap and water and rinse until soap residue is not visible,
7.6.5 Reinstall canisters 3-5WITHOUT cartridges.
7. 7Rinse system and filter # 2. SEE PRECAUTION # 6.2.
7.7.1 Turn on water supply
7.7.2 Plug in power supply to E-pure and turn power ON.
7.7.3 Allow water to run from drawoff tubing into sink for 10-20 min.
7.7.3.1 This removes any preservation resin from the system that came from the newly installed filter/cartridge #2.
7.7.4 Turn power and water supply to E-pure OFF.
7.8 Replace filter/cartridges #3- #5.
7.8.1 Place water catch basin under canister being removed.
7.8.2 Remove canisters 3-5 and rinse again with water.
7.8.3 Install new filters/cartridges and O-rings
7.8.3.1 Refer to materials list for proper filter/cartridge and O-rings.
7.8.3.2 Refer to PRECAUTION # 6.5 for proper installation of filter/cartridges
7.8.3.3 See PRECAUTION #1
7.9Turn water supply to E-pure ON.
7.10Plug in power supply and turn E-pure power supply ON.
7.11Allow water to drain into sink for 10-20 min.
7.12Close petcock valve on drawoff tubing.
7.13Replace filter/cartridge #6
7.13.1 See Materials list for proper filter.
7.14Replace drawoff hose in original position.
7.15Open petcock valve and allow water to drain for 10-15 min. through final filter.
|
Images are representative of the products. Images may or may not be of the actual product. If it is important e-mail us for an actual image if available.
* Flat Rate UPS shipping when able to ship via UPS and is in the USA excluding Hawaii and Alaska.
Larger Items may not be able to ship via UPS, in that case freight charges will be quoted seperately.
International shipping will be quoted after the order is placed. You will have the opportunity to cancel before we finalize your order.
Terms and conditions
Credit Application
Privacy
Policy
List All Products
|